| 일 | 월 | 화 | 수 | 목 | 금 | 토 |
|---|---|---|---|---|---|---|
| 1 | 2 | 3 | ||||
| 4 | 5 | 6 | 7 | 8 | 9 | 10 |
| 11 | 12 | 13 | 14 | 15 | 16 | 17 |
| 18 | 19 | 20 | 21 | 22 | 23 | 24 |
| 25 | 26 | 27 | 28 | 29 | 30 | 31 |
- 자료구조와함께배우는알고리즘입문
- iterator
- baeldung
- 스프링부트핵심가이드
- 서버설정
- Kernighan의 C언어 프로그래밍
- 친절한SQL튜닝
- 코드로배우는스프링웹프로젝트
- 페이징
- GIT
- 자바편
- 코드로배우는스프링부트웹프로젝트
- 처음 만나는 AI수학 with Python
- 스프링 시큐리티
- 이터레이터
- d
- 목록처리
- 티스토리 쿠키 삭제
- 구멍가게코딩단
- 데비안
- 네트워크 설정
- resttemplate
- /etc/network/interfaces
- 알파회계
- 처음 만나는 AI 수학 with Python
- 자료구조와 함께 배우는 알고리즘 입문
- 선형대수
- network configuration
- 리눅스
- ㅒ
- Today
- Total
bright jazz music
blog 29 : 헤더 인증으로 변경, Intellij http 본문
지난 포스팅에서는 AuthResolver에서 getParameter로 넘어오는 값을 분석해서 인증작업을 해줬다.
getParameter로 가져오면 다른 정보와 충돌이 생길 가능성이 있다. 따라서 인증정보는 헤더를 통해서 가져오는 것으로 변경한다.
1. ArgumentResolver 변경
//AuthResolver.java

package com.endofma.blog.config;

import com.endofma.blog.config.data.UserSession;
import com.endofma.blog.exception.Unauthorized;
import org.springframework.core.MethodParameter;
import org.springframework.web.bind.support.WebDataBinderFactory;
import org.springframework.web.context.request.NativeWebRequest;
import org.springframework.web.method.support.HandlerMethodArgumentResolver;
import org.springframework.web.method.support.ModelAndViewContainer;

public class AuthResolver implements HandlerMethodArgumentResolver {
    @Override
    public boolean supportsParameter(MethodParameter parameter) {
        //컨트롤러에서 사용할 어노테이션이나 DTO가 사용자가 사용하려는 것이 맞는지, 지원하는지 체크한다.
        return parameter.getParameterType().equals(UserSession.class); //UserSession 클래스를 사용하는 것이 맞는지 확인. 맞으면 컨트롤러에 값 할당

    }

    @Override
    public Object resolveArgument(MethodParameter parameter, ModelAndViewContainer mavContainer, NativeWebRequest webRequest, WebDataBinderFactory binderFactory) throws Exception {
        //실제로 해당 DTO에 값을 세팅해준다.

        //인증 작업 추가
//        String accessToken = webRequest.getParameter("accessToken");

        String accessToken = webRequest.getHeader("Authorization"); //헤더의 값으로 확인해준다.
        if (accessToken == null || accessToken.equals("")) {
            throw new Unauthorized();
        }

        //데이터베이스 사용자 확인작업
        //.. 추후 추가
//        UserSession userSession = new UserSession();
//        userSession.name = accessToken; 사용자 이름보다는 특정 값을 넣어주는 경우가 많다.
        return new UserSession(1L);
//        userSession.id = accessToken; 나중에 DB에서 조회해서 넣어준다고 가정
//        return userSession;
    }
}
2. 객체 필드 변경
관례상, 보안상 이름을 넣어주지 않기 때문에 바꿔준다.
//UserSession.java

package com.endofma.blog.config.data;

public class UserSession {

//    public String name;

    public final Long id;

    public UserSession(Long id) {
        this.id = id;
    }
}
3. Controller 변경
    //postController.java
    @GetMapping("/foo")
//    public String foo(UserSession userSession){
//        log.info(">>> {}", userSession.name);
//        return userSession.name;
    public Long foo(UserSession userSession){
        log.info(">>> {}", userSession.id);
        return userSession.id;
    }

4. 헤더에 값 넣어주기
일반적으로 브라우저에서 헤더 값을 넣어주기는 번거롭다.
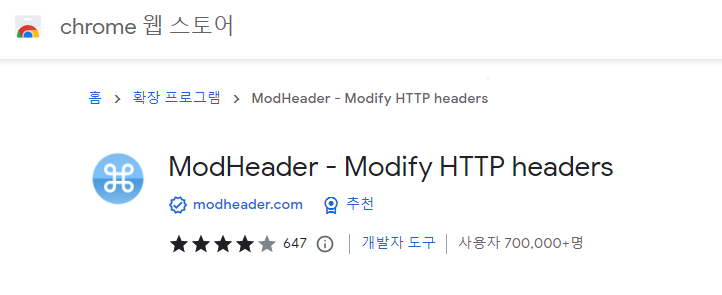
크롬의 경우 확장 프로그램을 설치해 준다.
4.1 ModHeader 설치


주의
이런 프로그램을 사용하고 나서는 반드시 해당 프로그램을 종료하거나 초기화 해준다. 헤더에 특정 값이 들어가면 접근이 안되는 사이트도 존재하기 때문이다.
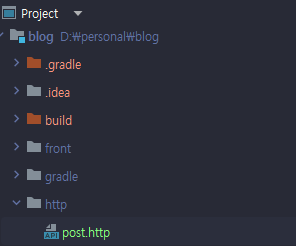
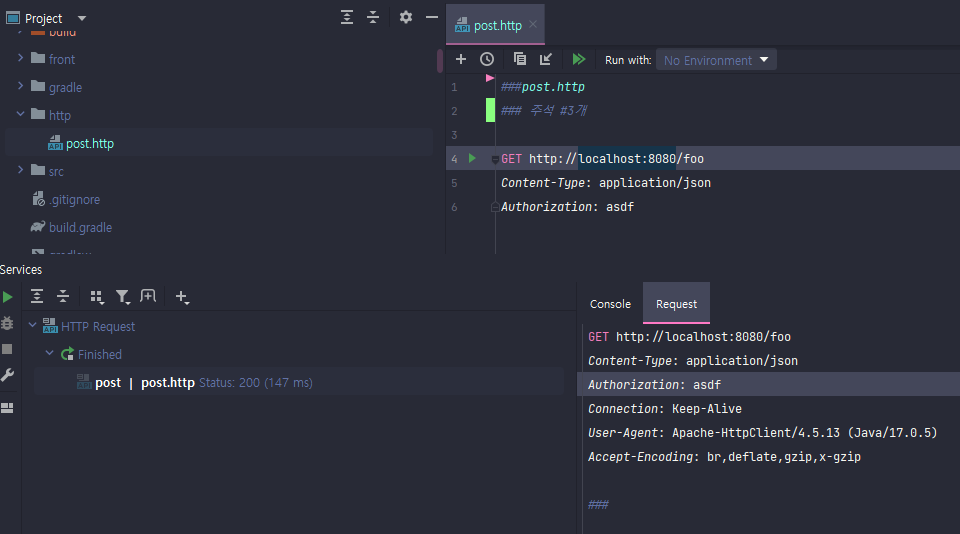
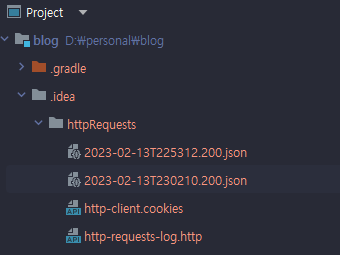
4.2 Intellij http 도구 사용하기

이 방식은 쉽게 Http 요청을 테스트 할 수 있을 뿐만 아니라 파일이 소스 내에 포함되기 때문에 형상관리에도 용이하다.


필요한 값들을 변수화 하여 사용할 수도 있다.
local / dev 등환경을 분리하여 테스트를 할 때도 유용하다.
'Projects > blog' 카테고리의 다른 글
| blog 30 : 고정인증 로그인 기능 구현 2 (1) | 2023.02.14 |
|---|---|
| blog 30 : 고정인증 로그인 기능 구현 1 (1) | 2023.02.14 |
| blog 28 : ArgumentResolver 사용해보기 (0) | 2023.02.10 |
| blog 27 : Interceptor 사용해 보기 (0) | 2023.02.09 |
| blog 26 : 가장 기본적인 요청 인증값 확인 (0) | 2023.02.08 |


